
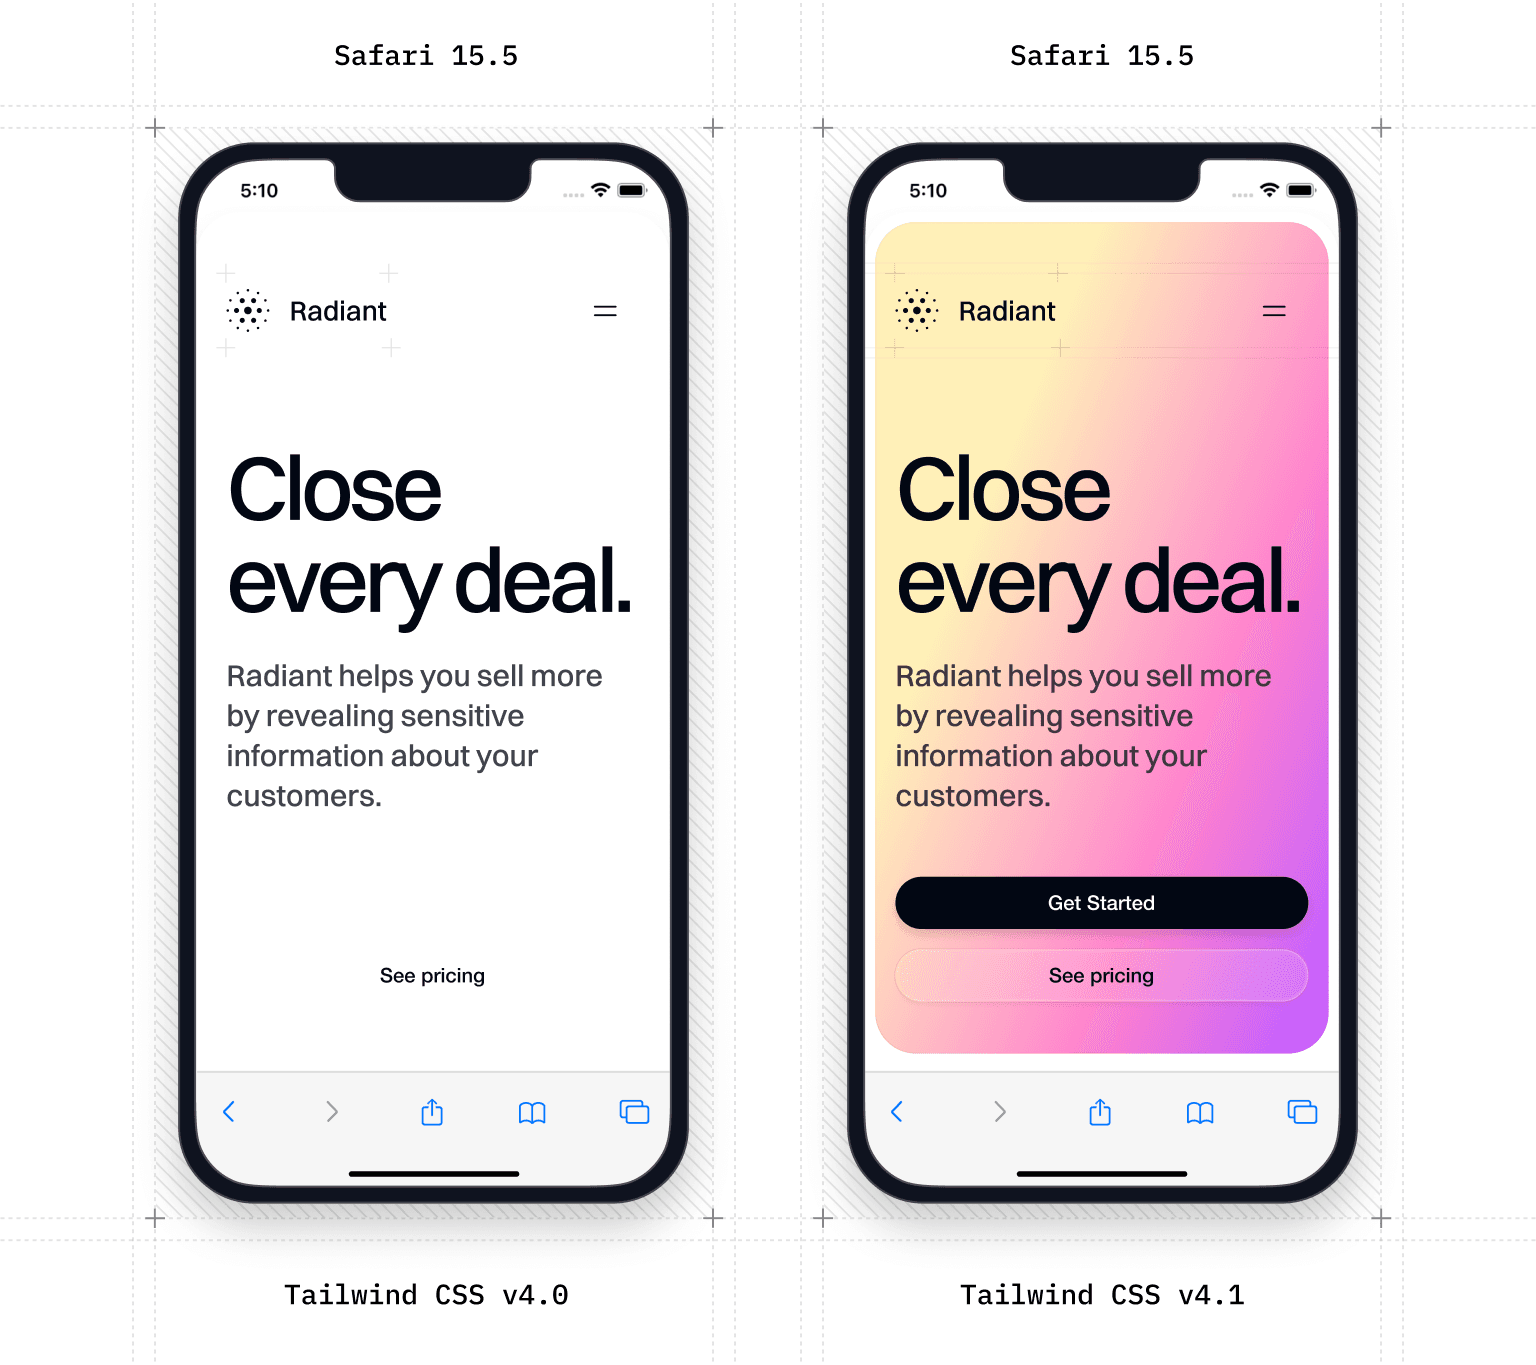
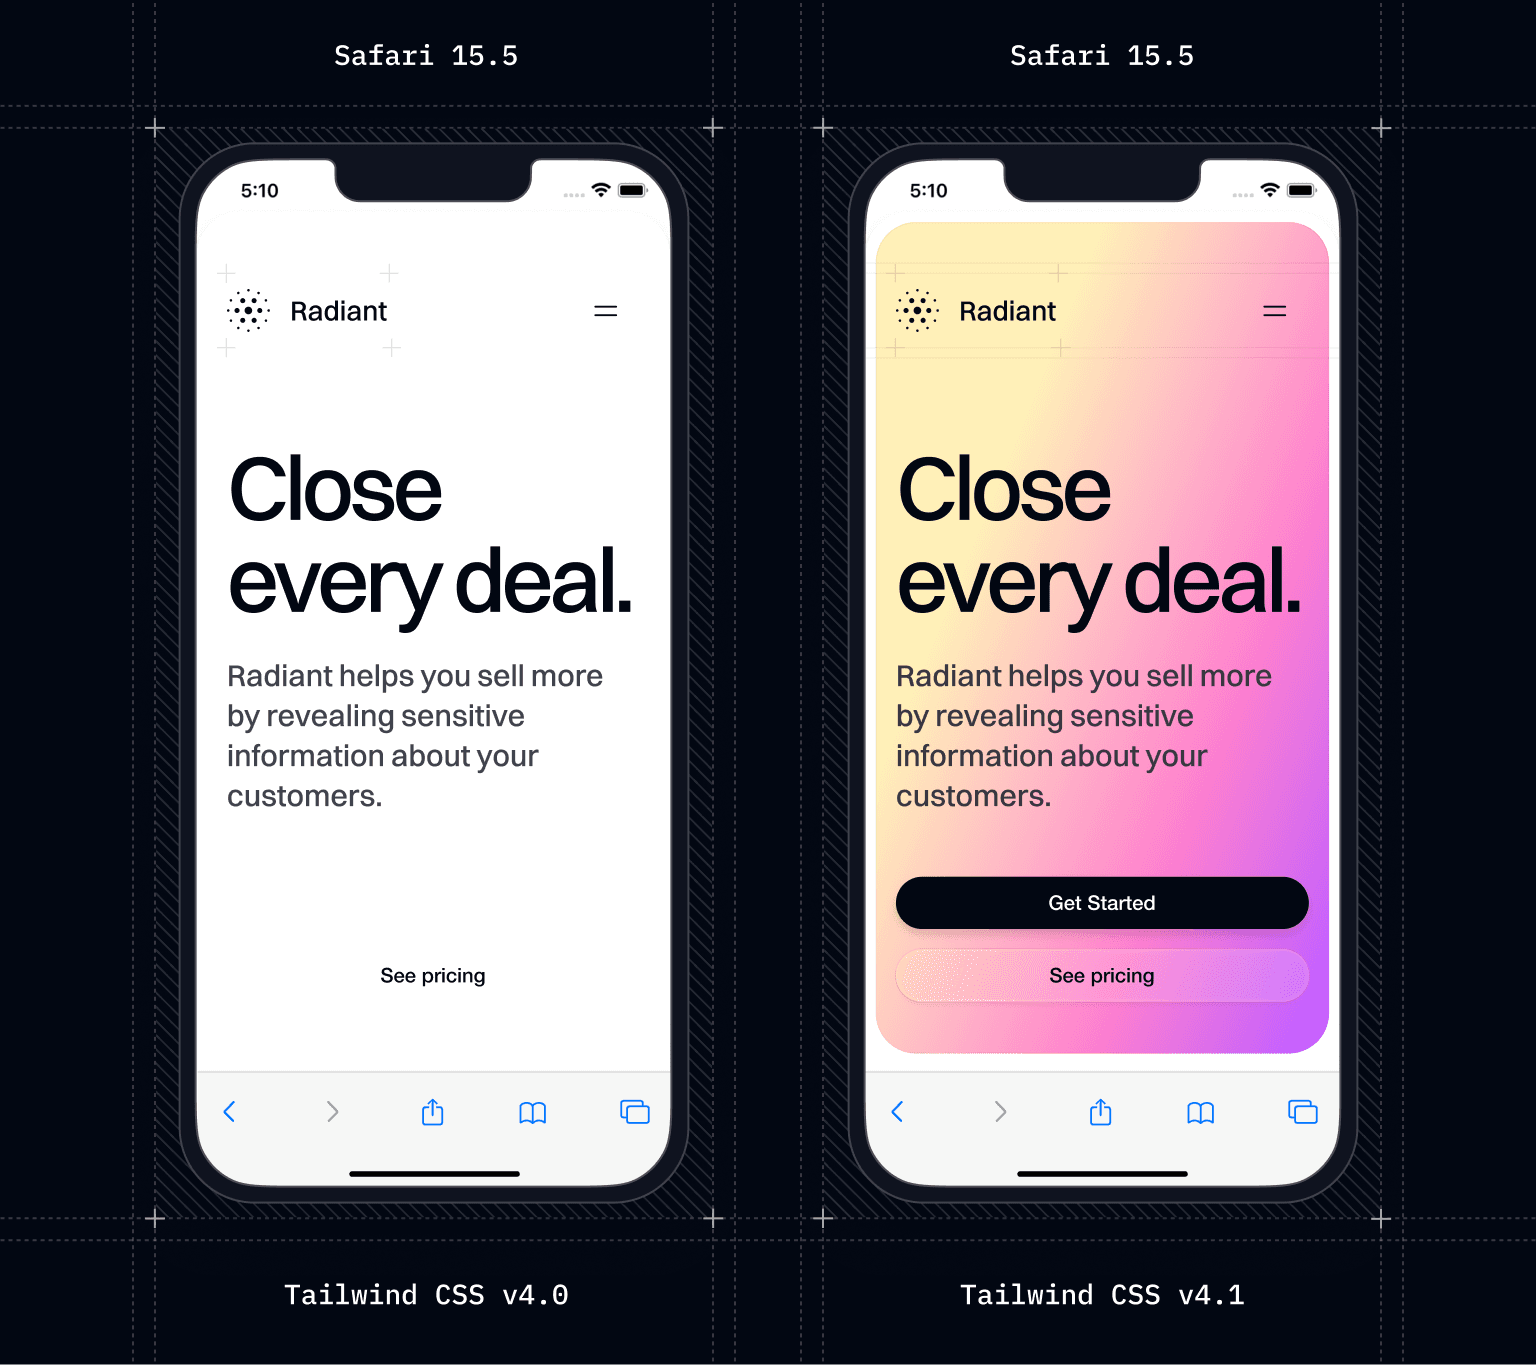
Tailwind CSS v4.0 is only a few months old, but because we love open source so much, we couldn't resist the urge to add even more features. Tailwind CSS v4.1 is packed with new utilities and variants that will help you build better interactive experiences.
We all know that your AI assistant still thinks it's 2023, so here's a list of new features in this release you can paste into your chat window:
- New
text-shadow-*utilities: Finally, you can use a feature that has been in CSS since 2009. - Mask elements with the
mask-*utilities: Use images and gradients to mask the visibility of elements. - Fine-grained text wrapping with
overflow-wrap: Even the longest German word can't break your layout. - Target input devices with
pointer-*andany-pointer-*: Touch targets just got easier to style. - Align items with
items-baseline-last: Align flex or grid items to the baseline of the last line of text. - Keep content visible with
safealignment: Safely align content without worrying about overflow. - Ignore specific paths with
@source not: Fine-tune the paths that Tailwind scans for classes. - Safelist specific utilities with
@source inline(…): Include classes that aren't in your source files. - Improved backwards compatibility: Some cutting-edge features degrade more gracefully on older browsers.
- A bunch of new variants: Build better interactive experiences with
noscript,user-valid, and more.
That's all the cool stuff, but to keep you on your toes there's a few other things in the release notes that you should check out too.
Upgrade your projects by installing the latest version of tailwindcss from npm:
npm install tailwindcss@latestNew text-shadow-* utilities
We've been threatening to add text shadows for at least the last six years and today they are finally here - It's just a pity no one uses them anymore.
Five text shadows have been added to the default theme, from text-shadow-2xs to text-shadow-lg. They are particularly useful for making headings stand out against a busy background:
The quick brown fox jumps over the lazy dog.
The quick brown fox jumps over the lazy dog.
The quick brown fox jumps over the lazy dog.
The quick brown fox jumps over the lazy dog.
The quick brown fox jumps over the lazy dog.
<p class="text-shadow-2xs ...">...</p><p class="text-shadow-xs ...">...</p><p class="text-shadow-sm ...">...</p><p class="text-shadow-md ...">...</p><p class="text-shadow-lg ...">...</p>You can change the color of the shadow using the text-shadow-<color> utilities. For instance, you can create a pseudo embossed effect by using a small white shadow on dark text:
<div class="flex gap-4"> <button class="text-sky-950 text-shadow-2xs text-shadow-white/50 ...">Book a demo</button> <button class="text-black text-shadow-2xs dark:text-white ...">See pricing</button></div>Like with any color, you can control the opacity of a text shadow color with an opacity modifier but we've also added the ability to control the opacity of the default text shadow color.
For example, text-shadow-lg/50 is the same as setting text-shadow-lg and text-shadow-black/50 at the same time:
The quick brown fox jumps over the lazy dog.
The quick brown fox jumps over the lazy dog.
The quick brown fox jumps over the lazy dog.
<p class="text-shadow-lg ...">...</p><p class="text-shadow-lg/20 ...">...</p><p class="text-shadow-lg/30 ...">...</p>We've also added the same opacity modifiers to the drop-shadow and box-shadow utilities. Check out the text-shadow docs for more details.
Mask elements with the mask-* utilities
One of the coolest features of modern CSS is the ability to use images and gradients as masks - basically using the opacity of an image to control the visibility of an element:
Speed
Built for power users
Work faster than ever with our keyboard shortcuts
<div class="mx-auto flex items-center p-16 max-sm:p-8"> <div class="bg-[url(/img/keyboard.png)] mask-radial-from-transparent mask-radial-from-15% mask-radial-to-black mask-radial-to-55% mask-radial-at-right ..." ></div> <div class="font-medium"> <p class="font-mono text-xs text-blue-500 uppercase dark:text-blue-400">Speed</p> <p class="mt-2 text-base text-gray-700 dark:text-gray-300">Built for power users</p> <p class="mt-1 text-sm leading-relaxed text-balance text-gray-500"> Work faster than ever with our keyboard shortcuts </p> </div></div>Because you can use any background-image as a mask, the logical thing to do was to copy the bg-* utilities so they share the same API. The problem with that approach is you often want to combine multiple masks together and the bg-* utilities are not composable.
So instead, we created a new set of utilities to work with mask-image that are composable and purpose-built for the masking use case. For example, you can use utilities like mask-b-from-<value> and mask-t-to-<value> to add a linear gradient mask to a single side of an element:
mask-t-from-50%
mask-r-from-30%
mask-l-from-50%
mask-l-to-90%
mask-b-from-20%
mask-b-to-80%
<div class="mask-t-from-50% ..."></div><div class="mask-r-from-30% ..."></div><div class="mask-b-from-50% mask-b-to-90% ..."></div><div class="mask-l-from-20% mask-l-to-80% ..."></div>It's more natural to think about which side you want to mask, rather than trying to work out the exact gradient you need to use.
The gradient mask utilities are also composable, so you can combine them to create more complex masks. You can combine radial, conic and linear gradients together to achieve some really wild effects:
<div class="mask-r-from-80% mask-b-from-80% mask-radial-from-70% mask-radial-to-85% ..."></div><div class="mask-y-from-80% mask-x-from-80%"></div><div class="mask-b-from-50% mask-radial-[50%_90%] mask-radial-from-80% ..."></div><div class="mask-t-from-80% mask-t-to-80% mask-r-from-80% mask-r-to-80% mask-conic-305 mask-conic-from-50% mask-conic-to-50% mask-size-[2.5%_3.25%] ..."></div>Masking is a super powerful technique and there's a lot more to the API than we can cover here. For a full breakdown of the new utilities, check out the documentation.
Fine-grained text wrapping with overflow-wrap
The new overflow-wrap utilities let you control how text wraps within an element. The wrap-break-word utility is especially useful for long words or URLs that might otherwise break your layout:
The longest word in any of the major English language dictionaries is pneumonoultramicroscopicsilicovolcanoconiosis, a word that refers to a lung disease contracted from the inhalation of very fine silica particles, specifically from a volcano; medically, it is the same as silicosis.
<p class="wrap-break-word">The longest word in any of the major...</p>The one case where this doesn't quite behave like you'd expect is inside a flex container and that's where you probably want to use the new wrap-anywhere utility instead.
It's similar to wrap-break-word, but it allows mid-word line breaks when calculating the intrinsic size of the element, replacing the need to set min-width: 0 on the child element:
wrap-break-word

Jay Riemenschneider
jason.riemenschneider@vandelayindustries.com
wrap-anywhere
Jay Riemenschneider
jason.riemenschneider@vandelayindustries.com
<div class="flex max-w-sm"> <img class="size-16 rounded-full" src="/img/profile.jpg" /> <div class="wrap-break-word"> <p class="font-medium">Jay Riemenschneider</p> <p>jason.riemenschneider@vandelayindustries.com</p> </div></div><div class="flex max-w-sm"> <img class="size-16 rounded-full" src="/img/profile.jpg" /> <div class="wrap-anywhere"> <p class="font-medium">Jay Riemenschneider</p> <p>jason.riemenschneider@vandelayindustries.com</p> </div></div>There's not much more to it than that, but here's the overflow-wrap documentation if you want to read it again in slightly different words.
Target input devices with pointer-* and any-pointer-*
There's nothing worse than a touch target that is too small to hit with your finger. The new pointer-* and any-pointer-* variants let you target specific input devices, so you can style your interface elements accordingly.
The pointer-fine variant targets an accurate pointing device, like a mouse or trackpad, while the pointer-coarse variant targets less accurate pointing devices, like a touchscreen:
Try emulating a touch device in your developer tools to see the changes
<fieldset aria-label="Choose a memory option"> <div class="flex items-center justify-between"> <div>RAM</div> <a href="#"> See performance specs </a> </div> <div class="mt-4 grid grid-cols-6 gap-2 pointer-coarse:mt-6 pointer-coarse:grid-cols-3 pointer-coarse:gap-4"> <label class="p-2 pointer-coarse:p-4 ..."> <input type="radio" name="memory-option" value="4 GB" className="sr-only" /> <span>4 GB</span> </label> <!-- ... --> </div></fieldset>If you're on your phone, you'll see the pointer-coarse styles applied, which make the touch targets larger and easier to hit. If you're on a desktop, you'll see the pointer-fine styles applied, which make the touch targets smaller and more precise.
While pointer-* only targets the primary pointing device, any-pointer-* is used to target any of the pointing devices that might be available.
Align items with items-baseline-last
When working with flex or grid layouts, sometimes you need to align something to the baseline of the last line of text rather than the end of the container. The new items-baseline-last utility does just that:

Working on the future of astronaut recruitment at SpaceRecruit.

A multidisciplinary designer.
<div class="group grid grid-cols-[1fr_auto] items-baseline-last gap-x-4 px-4 py-6"> <div class="grid grid-cols-[auto_1fr] gap-x-4"> <img src="img/profile.jpg" /> <h4>Spencer Sharp</h4> <p> Working on the future of astronaut recruitment <span> @spacerecruit</span>. </p> </div> <p class="text-lg group-hover:text-blue-500">spacerecruit.com</p></div>Keep content visible with safe alignment
Ever had center aligned content overflow in both directions when the container got too small? Now you don't have to use a container query to switch the alignment at different sizes.
The new safe alignment utilities will change the alignment to start when the container starts to overflow, so it only overflows in one direction.
Resize the container to see the alignment change
Select a category to filter:
- Sales
- Marketing
- SEO
- Analytics
- Design
- Strategy
- Growth
- UX/UI
<div class="mx-auto flex flex-col items-center-safe"> <h2 class="text-center">Select a category to filter:</h2> <ul class="*:rounded-full *:border *:border-sky-100 *:bg-sky-50 *:px-2 *:py-0.5 dark:text-sky-300 dark:*:border-sky-500/15 dark:*:bg-sky-500/10 ..." > <li>Sales</li> <li>Marketing</li> <li>SEO</li> <!-- ... --> </ul></div>These utilities work with both flexbox and grid layouts, and are available for all alignment properties.
Ignore specific paths with @source not
Sometimes you need to specifically exclude some parts of your code base from being scanned by Tailwind. Now you can use @source not to ignore specific paths when scanning for class names:
@import "tailwindcss";@source not "src/components/legacy";This is useful when you have a large number of files in your project, but only want to scan a specific subset of them.
Safelist specific utilities with @source inline(…)
If you need to make sure Tailwind generates certain class names that don’t exist in your content files, you can force them to be inlined by using @source inline():
@import "tailwindcss";@source inline("underline");.underline { text-decoration: underline;}This is the equivalent of the safelist configuration option in previous versions of Tailwind, but now you can use it in your CSS files instead of your config file.
The source input is brace-expanded, so you can generate multiple classes at once. For example, to generate all the red shades with hover variants, you can add a range to the source input:
@import "tailwindcss";@source inline("{hover:,}bg-red-{50,{100..900..100},950}");.bg-red-50 { background-color: var(--color-red-50);}.bg-red-100 { background-color: var(--color-red-100);}.bg-red-200 { background-color: var(--color-red-200);}/* ... */.bg-red-800 { background-color: var(--color-red-800);}.bg-red-900 { background-color: var(--color-red-900);}.bg-red-950 { background-color: var(--color-red-950);}@media (hover: hover) { .hover\\:bg-red-50:hover { background-color: var(--color-red-50); } /* ... */ .hover\\:bg-red-950:hover { background-color: var(--color-red-950); }}This will generate shades of red from 100 to 900 in increments of 100, along with the first and last shades of 50 and 950. It also adds the hover: variant for each of those classes.
You can also use @source inline() with the not modifier to exclude specific classes from being generated:
@import "tailwindcss";@source not inline("{hover:,focus:,}bg-red-{50,{100..900..100},950}");This will specifically exclude the shades of red from 50 to 950, along with their hover and focus variants, from being generated even if they are detected in your source files.
For more details on how to use @source inline(), check out the detecting classes in source files documentation.
Improved backwards compatibility
We all know someone who has been refusing to update iOS for the last five years because they prefer the old interface. Well, we've been working hard to make sure that those people have one less thing to complain about.
In Tailwind 4.0, we took advantage of some modern CSS features to make the framework lighter but also more flexible. Although these have been widely available in CSS for a while now, some features, like @property and oklch color mixing, needed some work to degrade gracefully on older browsers like Safari 15.
Here's the full list of backwards compatibility work we've done in this release:
- Update default theme values to use percentages in
oklabfor better Safari support (e.g.,oklch(63.7% 0.237 25.331)). - Polyfill
@propertyusing@supportsfor older Safari and Firefox versions. - Implement fallbacks for
color-mixusing inlined theme colors, converting tosrgbfor compatibility. - Add fallbacks for the relative color feature in new shadow utilities and
color-mixwhen usingcurrentcolor. - Provide fallbacks for gradient interpolation methods like
bg-linear-to-r/oklab. - Polyfill
@mediaqueries range syntax.
To learn everything you need to know about Tailwind compatibility, you can read the full documentation
A bunch of new variants
Prettier accordions with details-content
While you could always add styles to the children of a <details> element, it's been impossible to style the content container itself. The details-content variant targets the content container which is useful for positioning the content container relative to the <summary> element:
Why do they call it Ovaltine?
The mug is round. The jar is round. They should call it Roundtine.
<details class="rounded-lg border border-transparent p-6 details-content:mt-3 details-content:-ml-0.5" open> <summary class="text-sm leading-6 font-semibold text-gray-900 select-none dark:text-white"> Why do they call it Ovaltine? </summary> <div class="border-gray-200 bg-gray-50 py-3 pl-3 dark:border-white/10 dark:bg-gray-800/50 ..."> <p>The mug is round. The jar is round. They should call it Roundtine.</p> </div></details></Figure>Target inverted-colors mode
Use the inverted-colors variant to conditionally add styles when the user has enabled an inverted color scheme:
<div class="shadow-xl inverted-colors:shadow-none ..."> <!-- ... --></div>This is particularly useful for preventing black shadows being turned white when the user has enabled an inverted color scheme.
New noscript variant
Yes, some people disable JavaScript and now you can tell them your app doesn't work without it. The noscript variant lets you conditionally apply styles when scripting is disabled:
<div class="hidden noscript:block">Please enable JavaScript to use this app.</div>Better form validation with user-valid and user-invalid
It could be a little tricky to style form elements based on their validation state, but now you can use the new user-valid and user-invalid variants to apply validation styles to inputs only after the user has interacted with them:
<input required class="border user-valid:border-green-500" /><input required class="border user-invalid:border-red-500" />These are just some of the highlights — for all the details, check out the release notes on GitHub. Ready to try it out? Update to the latest version using npm:
npm install tailwindcss@latestLet us know what you build with these new features!